Wednesday, September 5, 2012

Radial Symmetry Name Designs

This is a project that gives students a fun and successful start to the school year. It requires some spatial reasoning skills and you will find that your students will be quietly engaged. I love when that happens! The directions might seem confusing until you try it yourself. Then you'll see that it's really quite easy.
MATERIALS: 8 1/2" X 8 1/2" white computer paper that you have pre-cut for your students, pencils, black or blue sharpies and classroom markers.
 Here are the steps:
1) Fold the paper in half twice to create 4 boxes. OPEN IT.
2) Fold the paper in half diagonally twice. OPEN IT and you will have 8 triangles.
3) Pencil sketch your name into ONE triangle. Use block or bubble letters that you can color inside of later. Make sure that the letters "grow" as you move across the triangle.
4) Trace your name with a sharpie.

 5)Fold the paper in half so that your name shows inside of a new triangle and trace it. This can be done up against a sunny window.
6) Keep folding the paper and tracing your name until all triangles are filled with your name.
7) Color the entire design in your very own interesting pattern using fresh and brilliant markers.

~ You can see in the completed designs that every other name is backwards, hence the symmetry. Be careful to put all of your names on the same side of the paper.

When displayed all together it is a visual delight.
Nice Work, Wildcats!

Friday, August 31, 2012

Mud Cloth or Bogolanfini/Mali, West Africa

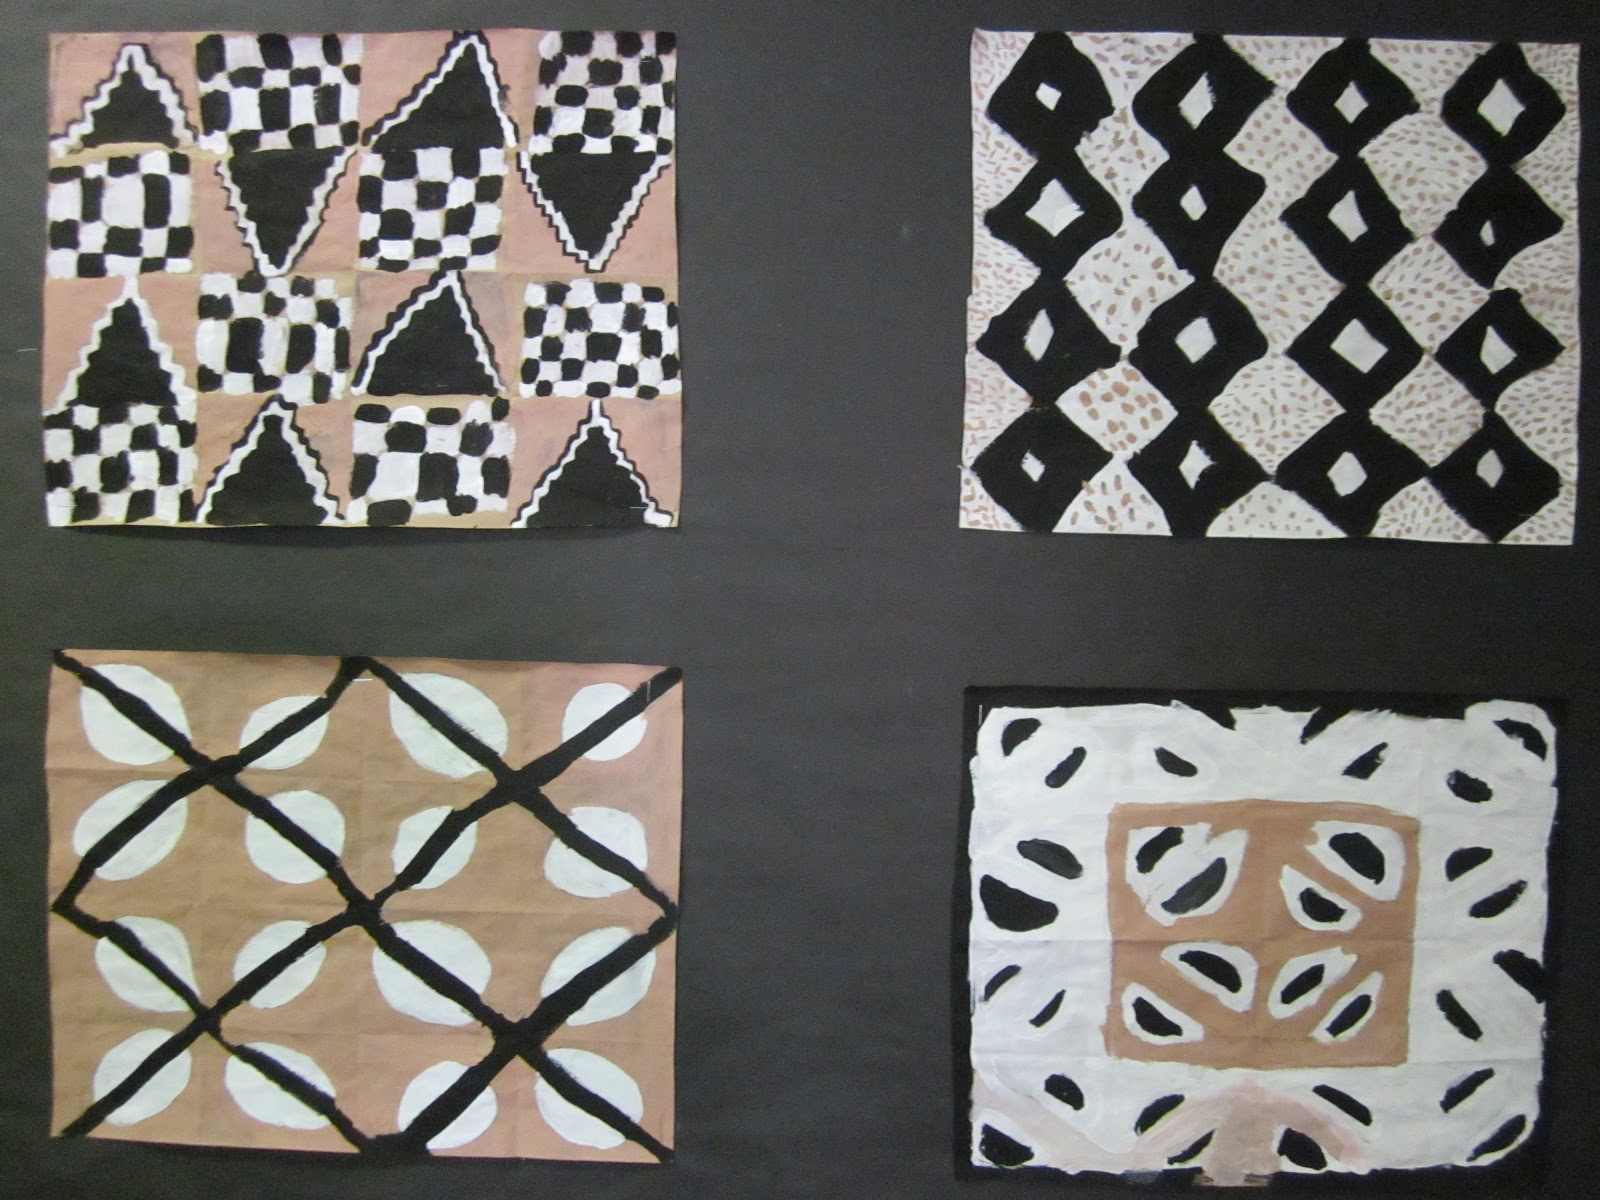
We started this project by taking a look at the Bamana tribe of Mali, West Africa and their stunning textiles called bogolanfini or mud cloth.
The process of making this textile is incredibly complex beginning with the growing of their own cotton and also the gathering of mud which is left in jars to ferment for about one year before use. If you want to learn more about this intricate process and some of the symbolism found within the different shapes and patterns, just google "bogolanfini" and read up on it. It's impressive!


For this project we used brown craft paper and tempera paint to make our own imitations of mud cloth. Some of the students folded their paper 4 times to get 16 squares to use as a guideline for their designs. I allowed my students to either come up with their own pattern or to replicate one found online. The results were very satisfying for all, and the students thoroughly enjoyed working with a limited palette of black, white, shades of brown, and even some ochre. My older students worked in groups to create larger sized mud cloths.


Creating our mud cloths was a great way to slip in some math and spatial reasoning skills, social studies, and multicultural awareness. But if you're an art teacher, you know that almost every art project has great potential for this and so much more!


Monday, August 27, 2012

COLORFUL LANDSCAPE PAINTINGS

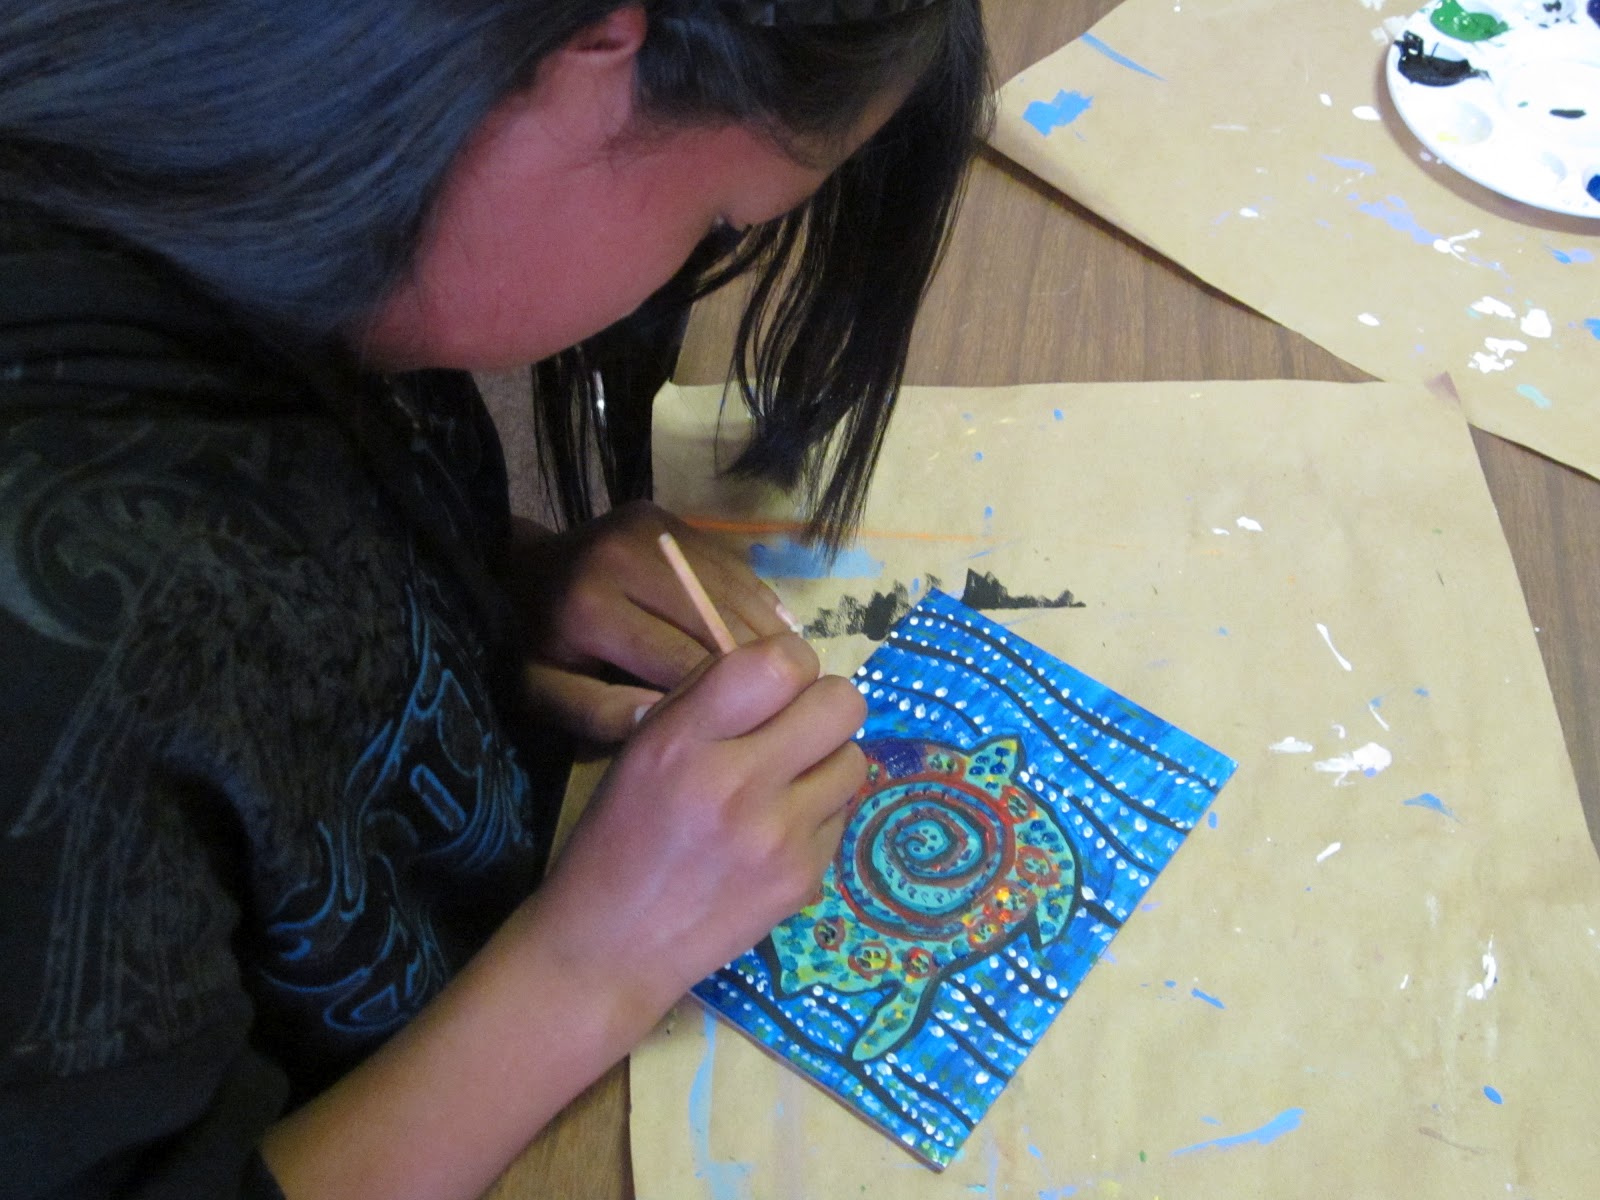
Robert from Fourth Grade
is hard at work on his painting. He took the extra time to add some interesting visual texture by applying small dots with a paintbrush.


Three Fourth Graders proudly display their wonderful Landscape Paintings. Behind them is a mural that was painted by Fred Kabotie back in the early days of Hopi Day School.


Excellent work, Hopi Day School Hawks!

Monday, February 13, 2012

WEAVING PAPER PLATES

For a fun and fairly easy project that requires few supplies, try weaving paper plates. My students loved it. Third grade was the youngest that worked for me because of larger group sizes, but someone as young as five would be able to do this project with more focused assistance.
SUPPLIES: paper plates, various colors of yarn, scissors, markers or crayons.
-Cut the edges of a paper plate into points so the plate looks like a flower or a sun.
-Poke a hole in the middle of the plate.
-Tie individual strands of yarn between each petal (or every other petal). Tie each strand so the knot is on the back of the plate. It will look messy on the back, but that is not important. You may trim the tails of the knots, but don't make them too short or the yarn will pop off while weaving.
-Take a piece of yarn about 10 inches long and tie its tail to one of the cross yarns on the back  of the plate. 
-Pull the yarn through to the front and get ready to weave.
-Begin weaving in the center of the plate by going over, under, over, under, and so on.
-Stuff and tuck the tail of the first piece of yarn under itself. No need to tie knots, the yarn is fuzzy and will cling to itself when tucked in well.
-Begin with a new color of yarn by stuffing and tucking it under the previous color, then weave as before.
-Weave as far as you would like, and then color the rest of the plate with markers or any other colorful medium of your choice.

-For more explicit visual instructions you can search the internet with the words "weaving paper plates", and you will find many sites with various instructions for this project.
-Display for all to see!
Monday, January 23, 2012

SURREAL COLLAGE

I started this project by showing my students Salvador Dali's famous painting, "The Persistence of Memory".  Most of my students had already seen the painting featured in a Loony Tunes cartoon. We then read about some of the interesting ways in which Dali gained attention. The time, for example, when he spoke about his art to a group of people while wearing a deep sea diving suit, or when he showed up to an event in a limousine filled with cauliflower. My students especially liked the story about Dali telling people that he could receive messages from outer space through the tips of his mustache!  We all made and wore various facial hair features during one art class. The original plan was for each student to make a Dali-style mustache, but the students got creative and we rolled with it.

 The collages displayed here are loosely based on surrealism. We focused on creating images that would cause the viewer to stop and wonder what the artist was thinking, and we tried to include combinations of images that are dream-like and seemingly from the subconscious. Mostly the collages are silly and interesting to look at, and the the students thoroughly enjoyed putting them together.


GREAT WORK, EVERYONE!

Wednesday, January 4, 2012

CANS FOR TILES

A mosaic project that was originally planned to be
10' X 10' has grown to almost 12' X 40'.  Tiles are the most expensive material and we need a lot of them, so we have been collecting cans to help curb the cost. Many of our students are very eager to collect as many cans in as short amount of time as possible, thereby helping to clean up their community.

When the wire mesh container in the photo is full, I take them to Flagstaff and cash in.  If the cans are crushed, we earn almost $40.  If they're not crushed, we earn about half that.


 The front of our school building used to be a giant wall of plain gray cinder blocks.  Now it serves as a brilliant backdrop for different events that are held in our sandy front yard throughout the school year. At times, it is an interesting conversation piece for visitors during various extracurricular events, and children are often seen slowly meandering along the wall as they are captivated by the many dazzling colors and textures.


Weather dictates how frequently we can work on our mosaics. It can be too cold, too windy, too hot and dry, or too wet. And getting set up to work on the wall takes time, so it's important to get a reliable forecast and some good weather.
Creating public and permanent artwork can be very memorable for young students, and they can visit the piece for years to come. 

Monday, December 12, 2011

PAPER MACHE ALEBRIJES

Finally! Here are the completed alebrijes which were designed and constructed by our 7th and 8th graders over the course of many weeks. If you look back into the "alebrijes" blog entry, you can see the different recycled materials that were used to build these creatures.
Great work, everyone!


Monday, November 21, 2011

CLAY ANIMAL RATTLES

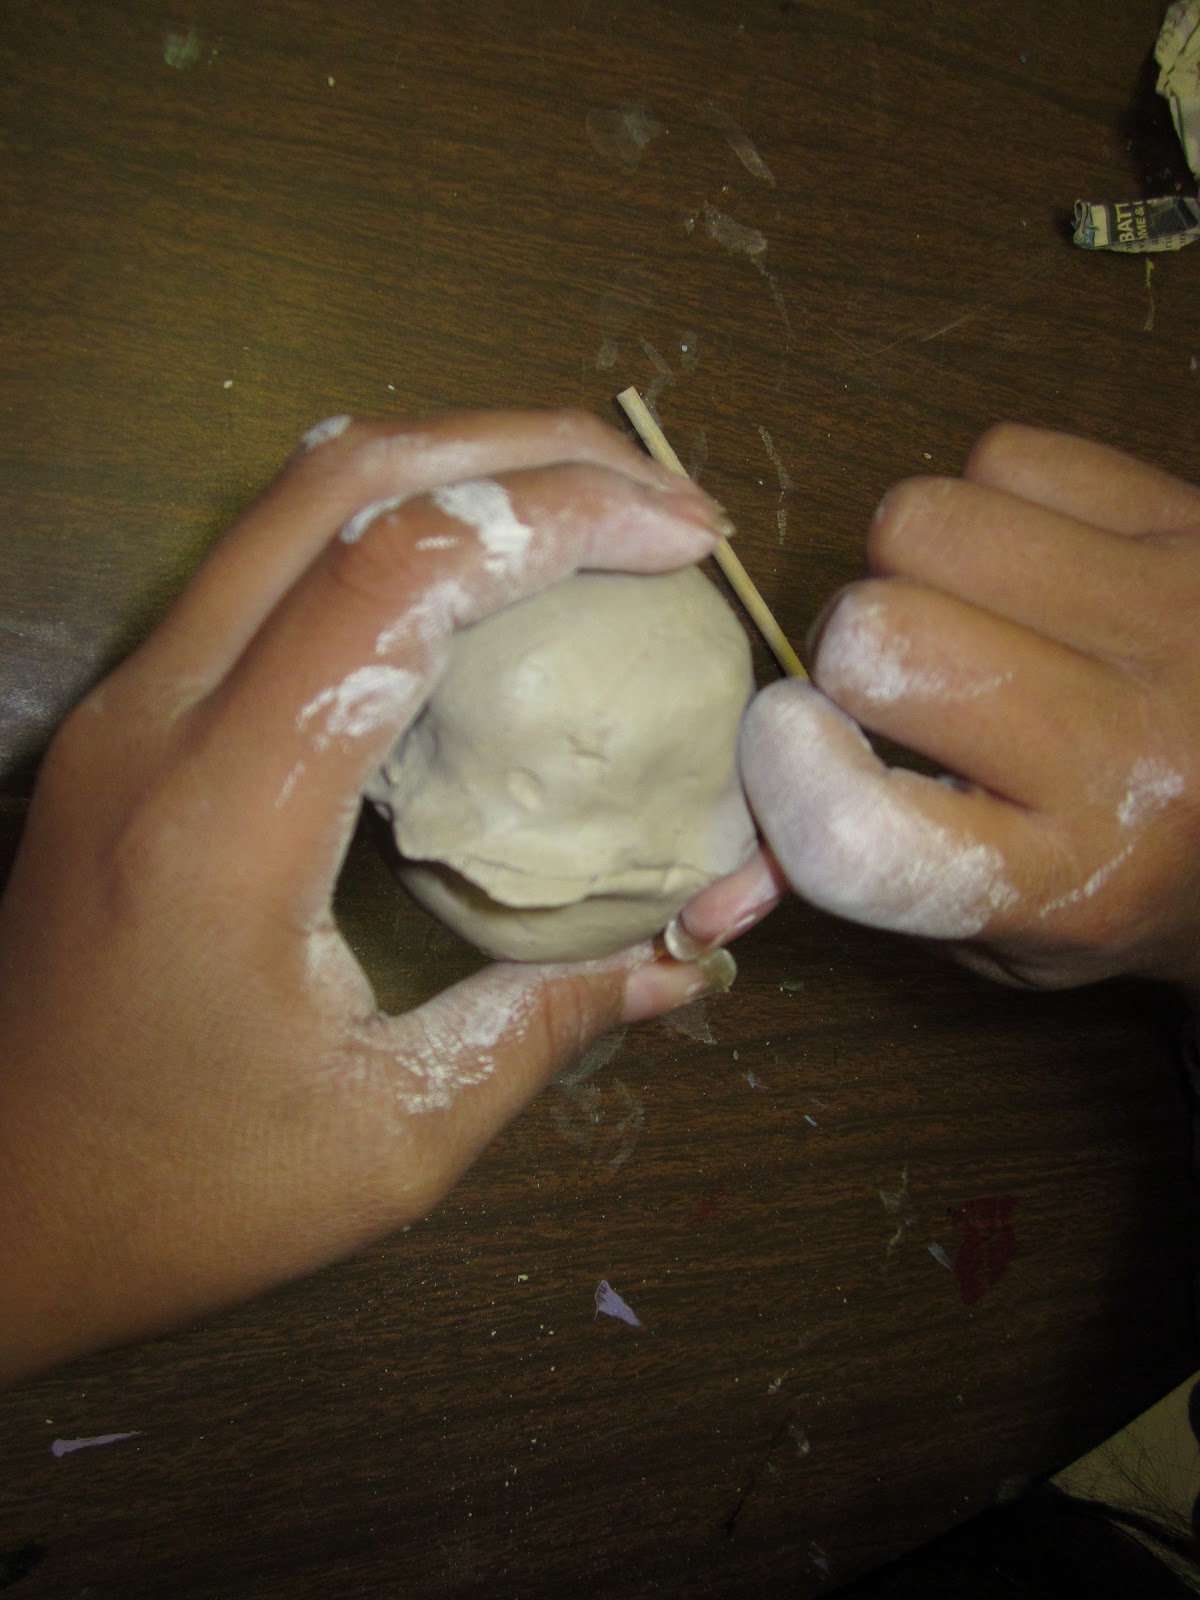
Clay animal rattles really do rattle after they've been fired! Don't forget to poke holes somewhere in your animal so the smoke can get out. See below for complete instructions.

 1) Make two pinch pots of the same size.
 
  2) Make 4 or 5 pea-sized clay balls and wrap them individually in small pieces of newspaper.
 3) Stuff the newspaper-wrapped clay balls into one of the pinch pots and join the two pots by smearing the clay together. Smooth out the sides with slip or just use your fingers.
 4) Poke a hole or two into your cylindrical, featureless creature. Eyes are a good place for holes. Use a stylus to scratch student initials and grade into the bottom.
  5) Attach the appropriate body parts for the animal you are making. (Wings, beak, ears, tail, horns)  Make sure to smear and smooth the appendages onto the animal, don't just stick them on or they'll fall off.
  

6)Allow the aminals to dry out completely before firing.
7) Apply glaze and fire again.

I recommend firing once before applying the glaze because the parts tend to be very fragile, and they often break before firing if they're handled too much.
 

Sunday, November 6, 2011

KANDINSKY'S CIRCLES

Wassily Kandinsky was a Russian artist who lived from 1866 until 1944. He is given credit for developing a purely abstract style in art.
After giving up a promising career in law, Kandinsky became a painter, an author, and a teacher at the Bauhaus School of Art in Germany.
He loved color and music, and he believed they were closely related in many ways.
Kandinsky's "Squares With Concentric Circles" is a great piece of artwork for children to imitate because it is so colorful and playful. It is also a great opportunity for students to identify and explore different color arrangements, such as using all warm, cool, analogous, or complementary colors within a square. For this project we used oil pastels and watercolor while listening to classical music.

Here is our drying rack full of colorful circles! And when you look at the photo below, you may experience a sudden sweep of cheer and laughter brought on by the power of many colorful circles displayed in one place! I know I did!