Wednesday, March 20, 2013

MAGAZINE COLLAGE

My students were given a 5" X 5" square of foam core and some National Geographic and Arizona Highways magazines. They were instructed to find a full page landscape scene to be used for their background. When they found a page that they liked, they traced their foam core onto the page, then cut the square out of the magazine page and glued it onto their foam core.

The next step was to find and cut out interesting images. A small ziplock snack bag with their name on it is useful to store images until the next class. When they had a variety of images, students then arranged them in different ways before gluing them onto their foam core to discover what worked best.

After gluing the magazine images onto their foam core, students embellished their collage with yarn, beans, glass beans, sequins, and a final coat of mod podge.


MOLAS of PANAMA, HOPI STYLE!

I started this project by showing my students photographs of some indigenous people of Panama and their famous textiles known as MOLAS. We discussed reverse applique as it is used in the making of a mola and the hard work that it requires. Each student in the fourth grade made their own version of a mola using construction paper, then my early finishers made an oversized paper mola. I hung their work for everyone to see and enjoy.
 My Hopi students almost always infuse some aspect of their culture into their artwork. I love to see where they take their projects. In the large bird posted here, you can see a turquoise necklace, a feather on a headband, and tootsies or moccasins on the feet of the bird. The large piece is framed by a border of geometric designs frequently found in Hopi art (other tribes too).
Excellent Work Fourth Grade!

Wednesday, February 27, 2013

CLAY BIRD BELLS

Clay Bird Bell!

Clay  Bird Bells Before Firing!

Here are the steps for this fun project: 
1) Build a small pinch pot.
2) Turn it over and attach a ball of clay for the head. Smear it on and smooth it out.
3) Poke a hole from the top of the head out through the bottom. Poke holes for eyes if desired.
4) Scratch designs into the wet clay for feathers and wings.
5) Roll out two little clay carrot sticks for legs. Join them and poke a hole at the top.
5) Air dry and fire.
6) Apply glaze and fire again.
7) Use twine or fishing wire to string up the legs and a few beads on the top and bottom of the bird.


Wednesday, February 6, 2013

BUFFALO SCRATCH ART


For complete instructions on this project, see my blog entry "The Scream".

Check out the incredible detail!


Excellent Work, Second Grade!


Tuesday, December 4, 2012

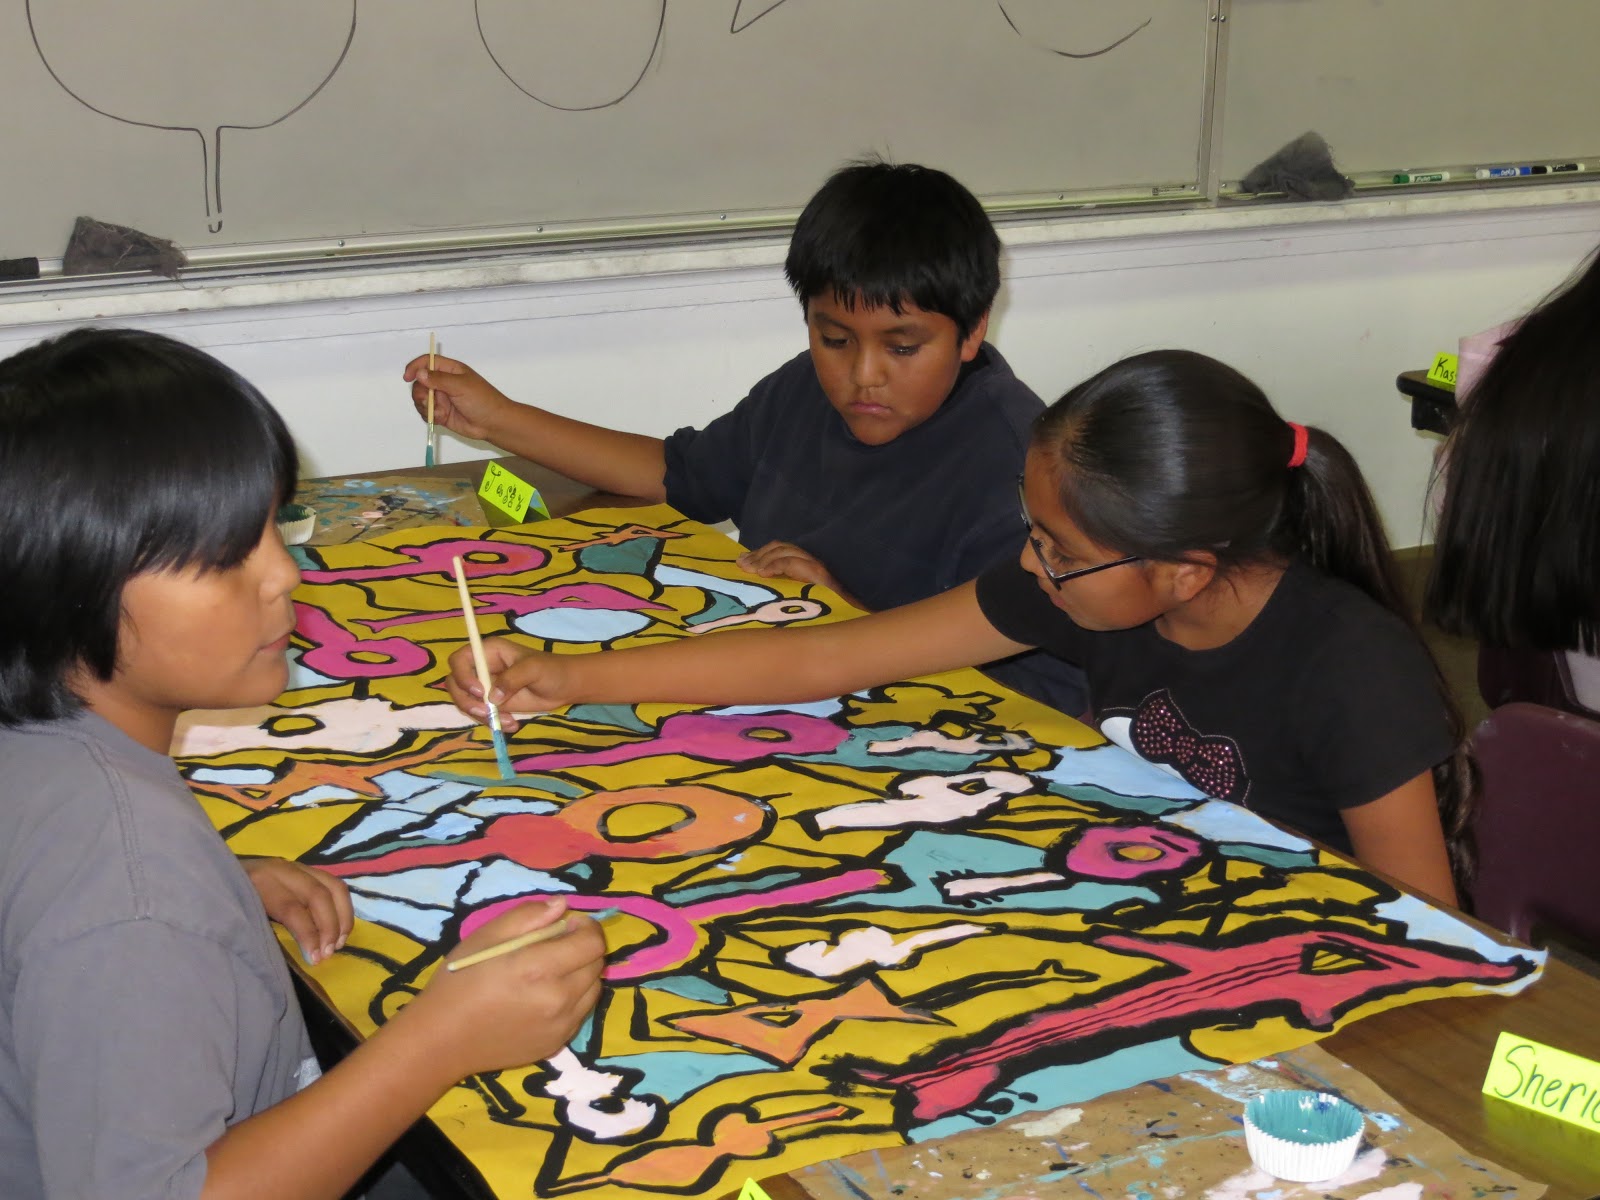
GROUP GUITAR PAINTINGS

Begin this project by painting many different styles and sizes of guitars (and other stringed instruments too) using black tempera paint. Don't paint any details on the guitars yet, just basic outlines and holes in the center of the instruments. After painting the guitars, add interesting lines connecting the guitars to one another and to the edges of the paper.

 
Paint all the guitars using warm colors.


Keep going!


Paint the background spaces using cool colors.


Stick with it!

Now paint the details onto your stringed instruments.


Have Fun!


Do your best!


Display for all to see.


Fantastic Work, Hawks!


Tuesday, November 6, 2012

FULL MOON VALUE CHART


Begin this project by adding a dot of blue to some white tempera. Paint a small circle in the middle of the paper. Make sure to leave the very center unpainted as this will be the full moon.


Continue adding a little more blue to the paint in order to create darker tints of blue. Students love to mix and stir the paint! At some point you will switch to pure blue. Paint a ring of pure blue, then begin gradually adding very small amounts of black to create different shades of blue.

While the paint is drying, cut or tear the silhouette of a tree using black paper. Glue the tree to the painting so that it overlaps the moon without covering it up.


Encourage variety in the shape of the trees. Some of my students added silhouettes of owls, bats, and ravens.


Display for all to see and discuss. Review key words like value, tint, shade, gradual, gradation, concentric, subtle, etcetera.
EXCELLENT WORK WILDCATS!


Monday, October 29, 2012

THE SCREAM by EDVARD MUNCH

This project was a blast! My students started by sketching only the most basic shapes found within Edvard Munch's painting "The Scream". Then, while looking at small photocopies of the painting, they colored the picture as closely as possible to the original.  They used oil pastels and colored each section with a thick coat. After they finished coloring their work, they applied a coat of black tempera paint over the entire picture.
 When the paint was dry, we passed each picture through a tub of tap water in order to loosen up the black paint which was then wiped off with a damp cloth. Some of the black paint is left behind which adds an interesting appearance to the overall piece. Each student then used a pair of closed scissors to gently scratch into their piece revealing the brilliant pastels beneath. (Large nails work too!)
 Finally, they cut their own Scream portrait out of a 4x6 print and trimmed it to fit into their picture and glued it to the place where the original spooky image was found.

Each final piece is a little different, and this project is a show stopper on the bulletin board in the hallways of our school. Excellent Work Kids!

Wednesday, October 3, 2012

COPPER TOOLING


 Copper Tooling is a fun and sophisticated project that requires relatively few materials. Here is a list of what you will need.
-Copper Foil (or substitute)
-Metal Tooling Kit (or ball point pens, popsicle sticks, wooden stylus, be creative!)
-White Paper
-Pencils
-Liver of Sulfur or India Ink
-Small cup
-Paintbrush
-Steel Wool

Wrap a pre-cut piece of foil with plain white drawing paper to determine the size of your image. Unwrap the foil and set it aside. Carefully draw your image into the box on the paper with a pencil.
We chose Mimbres animal images that can be found on the internet. I work with Hopi students, so some of my kids chose Hopi images.

Now wrap the foil again so that your image is directly over the foil. Place the paper and foil on a magazine or some newspaper and trace all of your pencil lines with a ball point pen. Press hard and go slow so that you emboss all of the lines in your design.

 After you have traced all your lines, unwrap the foil and begin further tooling. Keep working on top of a few magazines as this provides a soft surface which allows the foil to be deeply embossed.
Decide which areas you would like to have relief (stand up), and working from the back, push those areas out using the appropriate sized tool. Popsicle sticks work well for this.


 After you have finished all of your tooling and embossing, you can apply a coat of Liver of Sulfur or India Ink. Try painting it over the entire surface and then using steel wool to polish out some desired areas, or carefully paint the LOS or India Ink only where you would like it.


 When you have completely finished all of the steps then you can choose how to display it. We have glued then nailed some of our copper pictures to blocks of wood which we then painted with decorative borders. We have also wrapped them around mat board, or matted them like you would a drawing or a painting.
 Good luck, and please let me know if you have any questions or suggestions. Thanks!
~Karen