Monday, April 14, 2014

PATTERN STUDY


Supplies: precut squares of material, multimedia paper, glue (we brushed a mix of glue and water onto the back of the material as it spreads more easily), oil pastels, watercolor, brushes, water in cups, and paper towels.  

To make this brilliant and exciting pattern study, start by dividing the paper into three sections with an oil pastel. (We drew a giant capital "Y".)  Next, glue one piece of material into each of the three sections.


Look carefully at each piece of material and decide what the background color is. (The background color will be painted on last with watercolor.) Using oil pastels, continue the pattern of the material onto the paper as best as you can. Paint over the oil pastels with watercolor. If the background of the material design is white, then no watercolor paint is required. You may use the white of the paper to accomplish that.
Please contact me if you have any questions about this project.
HAVE FUN!

Wednesday, April 9, 2014

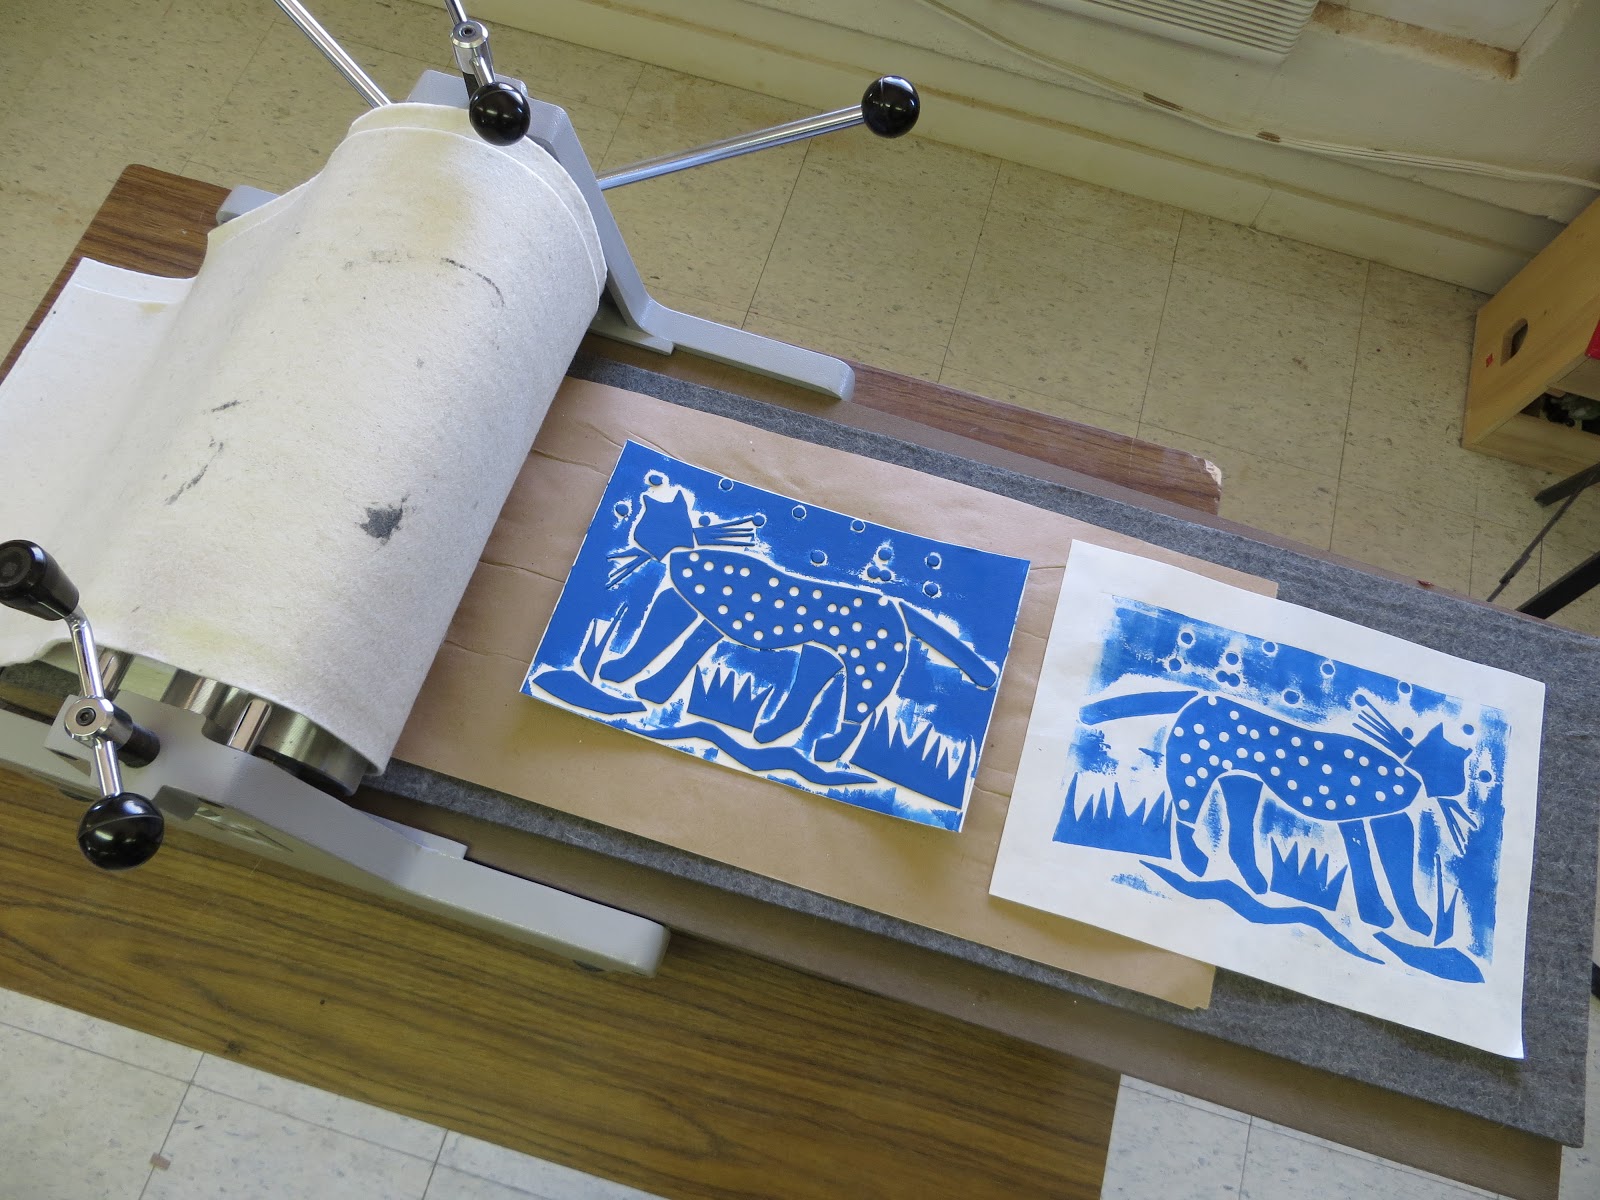
BLOCK PRINTS

Here are some of our 8th grade entries for the 2014 Heard Museum Native American Student Art Show and Sale.


Next year I will document the process from start to finish with photos and post them. In the meantime, please contact me if you have any questions about this project.


SHOE SOLE CLAY PENDANTS

Here is a project that was a complete hit with every child.
We made clay pendants by stepping onto balls of clay. The variety of designs on the bottom shoes add fun and interesting textures to the pendants.

Start with small blobs of clay and roll them into balls. Place the clay ball onto a piece of paper on the floor and slowly, gently step on the clay while applying even pressure.

Any shoe will do.

After pressing into the clay, carefully remove the clay from the bottom of the shoe.

One of the most enjoyable parts of this project was the sense of community that was offered by taking turns making pendants for each other. Some students had shoes that became very popular for their cool designs.

After making a number of pendants, we poked holes into them and scratched initials and grade numbers on the back.

Lay flat and allow pendants to dry.

Load the kiln and fire away. After the first firing, we will glaze and fire again. Then we will string them up and take them home. Check back for photos of the finished product.
Please contact me with questions or comments about this or any other project.
HAVE FUN!
 

Wednesday, December 4, 2013

SPARKLY WINTER SHADOW BOXES

After hanging on to these little eraser boxes for so long, I finally put them to good use. My Second Graders made shadow boxes with them. We used color illustrations of birds and eggs from an old Audubon bird book that I found at the Goodwill. Students glued their bird onto thin cardboard (cereal boxes) then carefully cut them out. They cut two small strips of cardboard about the size of their pinkie finger and folded them into little accordions. Then they glued the accordion strips to the back of the bird and into the box for a 3-D effect. The final touches were to add sticks and sparkle paint. We may add a few more things to embellish them further. Nice Work Second Grade!


Monday, November 25, 2013

ALPHABET SOUP CLAY PENDANTS

Here is a fun and fairly simple project for grades 4 and up. Before beginning the clay part, take time to find the letters that you will need. Then start making the pendants by rolling out a small fist full of clay into a thick cookie. Cut the sides with Fiskars scissors to create a rectangle or square with interesting edges. Poke one or two holes at the top (and one at the bottom too if you want to hang some beads from the bottom). Next, roll texture into the clay using lace, leaves, etcetera. Peel the items away after rolling, and carefully push your alphabet pasta letters into the clay. Leave the pasta in the clay as it will burn off in the kiln. Make sure the letters are level with the surrounding clay to get a deep impression of each letter. Let dry, glaze, then fire. Or fire, then glaze, and fire again. String some beads and send them home!
CLAY PENDANTS
(Before and after glazing)
 

SUPPLIES:
Clay, rolling pins, Fiskars scissors, wooden stylus to poke holes, lace, leaves, alphabet pasta, glaze, brushes, twine or yarn, beads

Tuesday, November 5, 2013

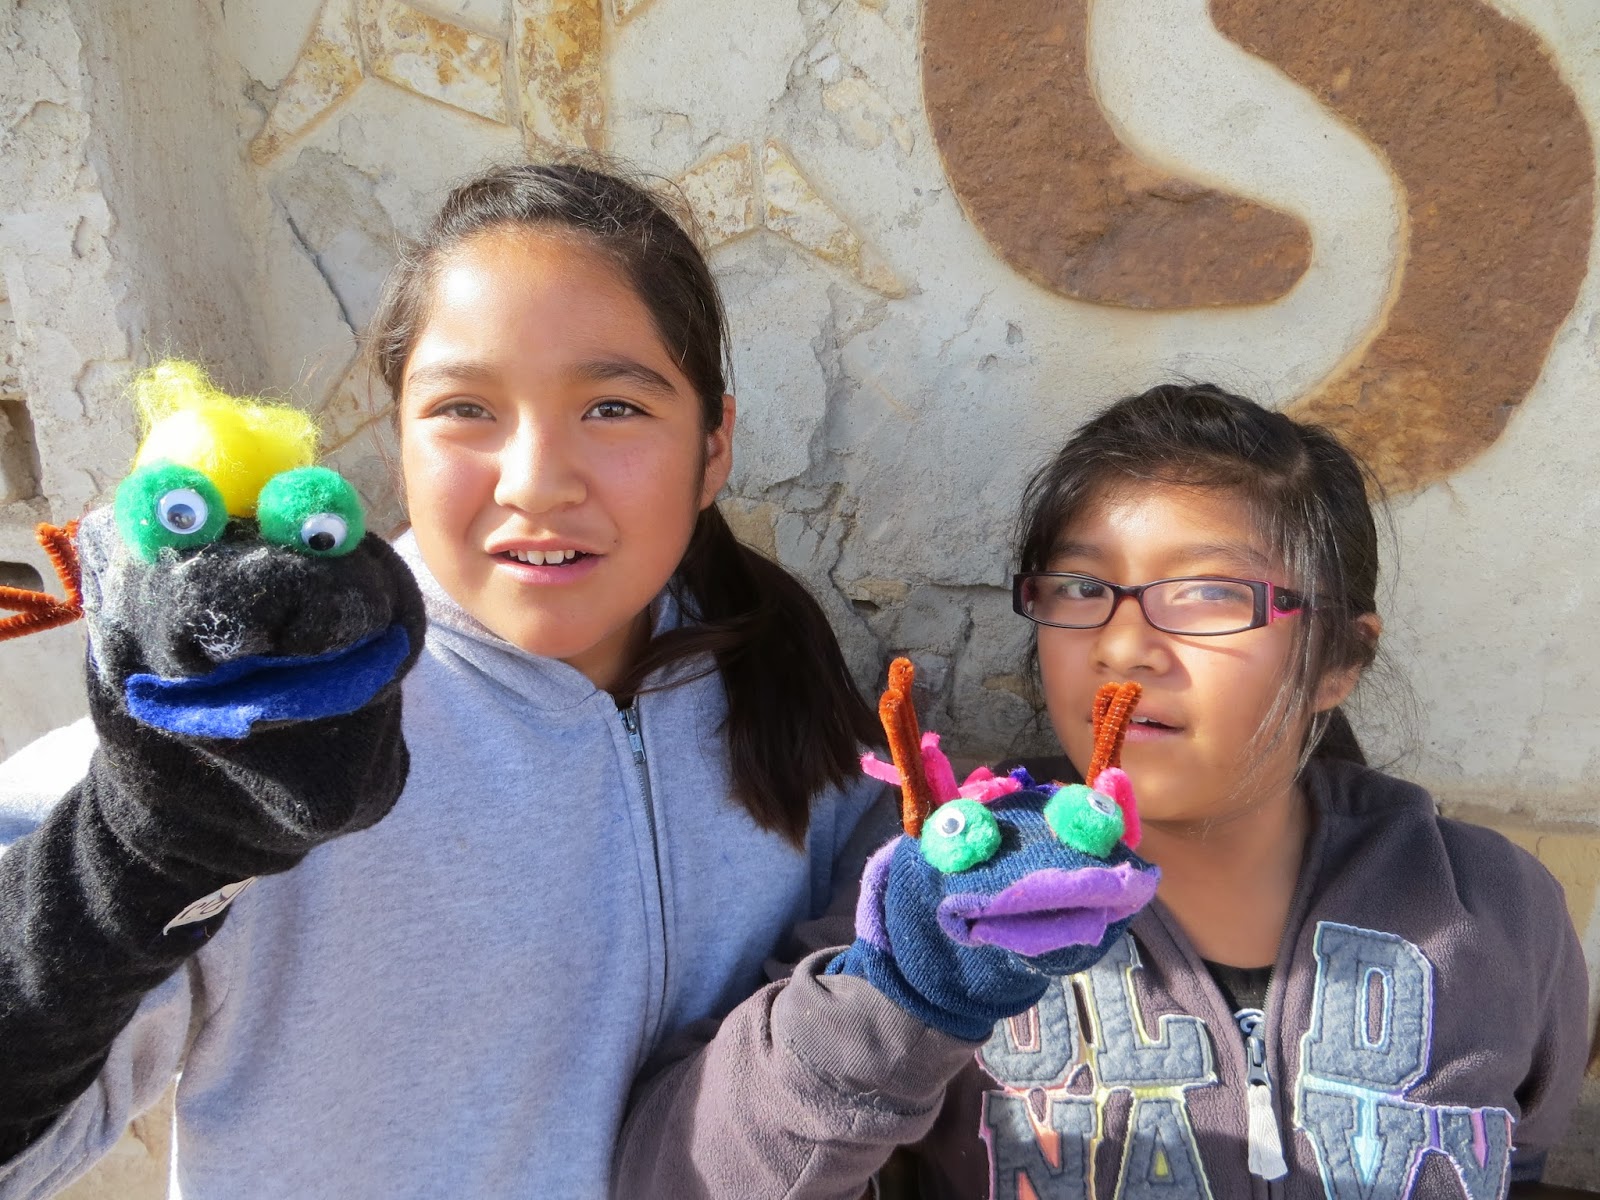
SOCK PUPPETS

 
Sock puppets are fun to make and require only a few supplies. Start by placing a sock of your choice onto your hand to get an idea of where the mouth piece should go. Cut a piece of felt into the shape of an oval and glue it onto the sock. Tacky glue works well. Allow time for it to dry then test it out on your hand as seen above. Use buttons, material, yarn, google eyes, pipe cleaners, and anything else you can think of to bring your puppet to life.

The puppet above is a sock puppy with a strong inclination to play fetch!  


Tuesday, April 23, 2013

OJO DE DIOS

Ojo de Dios in its beginning stage.
 This is a great project for many ages and calls for just yarn, sticks, and glue or wire.  Popsicle sticks work well, although the images posted here were made with wooden dowels.
Begin by fastening two sticks perpendicular to each other using glue, thread, or fine wire. Take a generous strand of yarn, tie it to the center of the crossed structure and begin weaving by going around the sticks clockwise or counter clockwise.
Experiment with different weaves by going over-around, under-around, or over-around, over-around. This probably won't make sense until you try it, but once you do, you'll see how easy it is.

Ojo de dios showing two different weaving patterns.
In this photo you can see two different patterns. One pattern is a repetition of over-around, and the other is a repetition of under-around.

Beautiful Ojo de Dios using only one color.
We have used multiple colors in some Ojos, but you can see that if the pattern is varied then only one color can also be effective.

Ojo de Dios with smaller ones on the tips.
Here is an Ojo de Dios that has smaller ones attached to the tips of the center Ojo. The Huichol tribe in Mexico is known for their beautiful Ojos, although it is called something else.

Wednesday, April 10, 2013

COLLAGRAPHY FOR KIDS

 In its simplest terms, a collagraph is a print of a collage. If you're going to use a press it will be best to build your collage on mat board or some other flat, sturdy material. Mat board was used for the image display here.
Unused collagraph plate with mod podge coating.
 You can use yarn, paper clips, bubble wrap, and other odd ball materials to build your collagraph, but we kept ours simple and built them using only thin cardboard. Cereal boxes and other food boxes are a perfect weight and a great way to recycle. They're thin enough for even first and second graders to cut.

Make sure to carefully glue every edge and corner so that it stays put. You can place heavy books on top to be sure. Use quality glue if you can.

 After you finish gluing your image it is important to apply a protective coat to the plate (the plate is your collagraph image on board). Mod podge or watered down glue (not washable glue!) works well for this. The coating will allow you to make multiple prints without losing pieces of the image by way of usage. 
Inked collagraph plate ready to be printed.
Ink it up with printing ink or a substitute and run it through your press. If you don't have a press, wooden spoons are the perfect tool to make your print by hand.
Collagraph plate and print.
After you are finished making all the prints you want, cover the plate with heavy foil to make an aluminum foil relief print. I will post that as a different project later on.
Different plates for collagraphs made by K's and 1st grade.
 Here are some plates that Kindergarten through Second grade made. They have not been printed but have been coated with a protective spray and are ready to go.
Robots!

Tuesday, April 2, 2013

SUMI-E or BLACK INK PAINTING

Sumi-e or black ink painting seems to be a very calming art project for every age.

The elegant simplicity of the natural elements and the pleasing contrast of black and white with all shades in between lend themselves to a highly satisfying painting experience.

When a classroom full of 25 energetic children is completely quiet and all are engaged, you know you've found a great project!

The paintings displayed above were made on student quality, cold press watercolor paper using diluted black India ink. In order to achieve a softer look, students first brushed clean water across their paper. After the paper had absorbed the water, they applied their brushstrokes using varying amounts of India ink. 

I have purchased specialty sumi-e brushes for my classroom, but a round #6 or #8 watercolor brush works well too.

My students and I took some time to learn about sumi-e painting before we started. It's purely fascinating, and engaging in the process allows for a deeper appreciation of the art.